


1 & 2
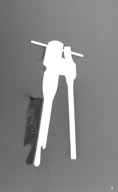
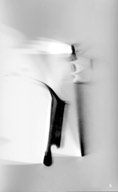
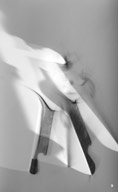
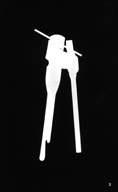 You should test
the exposure times of your paper before getting started. How long exposure
needs the paper to get a slight gray, and how long does it take to reach a well
settled black? In the first picture shown, short exposure time has been chosen.
The light falls straight from the top. Because of the short exposure, you get a
gray background. You see the silhouette of a can-opener.
You should test
the exposure times of your paper before getting started. How long exposure
needs the paper to get a slight gray, and how long does it take to reach a well
settled black? In the first picture shown, short exposure time has been chosen.
The light falls straight from the top. Because of the short exposure, you get a
gray background. You see the silhouette of a can-opener.

3 & 4
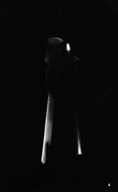
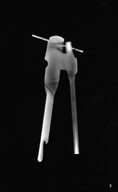
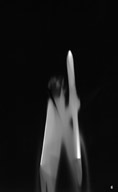
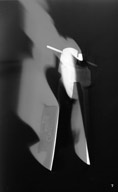
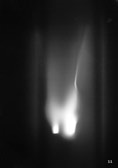
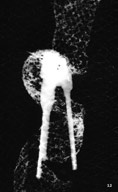
If you increase the exposure, and exeed the black point,the paper will react with the reflected light from the object. In that case, the silhouette will disolve and transform itself into a three dimensional illusion (as you can see in pictures 3 and 4).
5
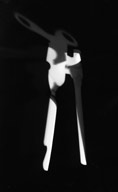
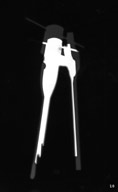
In picture number five, the object was exposed from the right side, at an angle of 180 degrees. Here you can see that the usual form of a can-opener faded away.
6
The important role of the exposure angle is particularly shown in picture number six. The direction also makes a difference. Even if the exposure time and direction have changed, the angle still is the same (180 degrees).
7
If you combinate light from the top and from the side, you obtain parallel results, as shown in picture seven.
8
Here was first exposed from the top, and then diagonal from the right bottom side. The result is completely different if two side lights are set (picture eight).
9
In this example a further component was added: The can-opener was exposed from the right side, then moved, and exposed a second time.
10
Shadowgraph number ten shows a possible enlargement with a one to one silhouette. Therefore, you have to increase the distance between the object and the photo paper.
11
You can also make a reflex copy if you wrap the paper around the object.
12
As you can see in the last picture, there are possibilities to create a three dimensional background. All you need for exemple, is a flat transparent object, so you can place other things on top of it.